
 I needed a scoop for potting soil and a recycled hot chocolate can did just the trick! I used my dremel to cut it and pop rivets to secure the handle. It works nicely!
Showing posts with label diy. Show all posts
Showing posts with label diy. Show all posts
3/29/2012
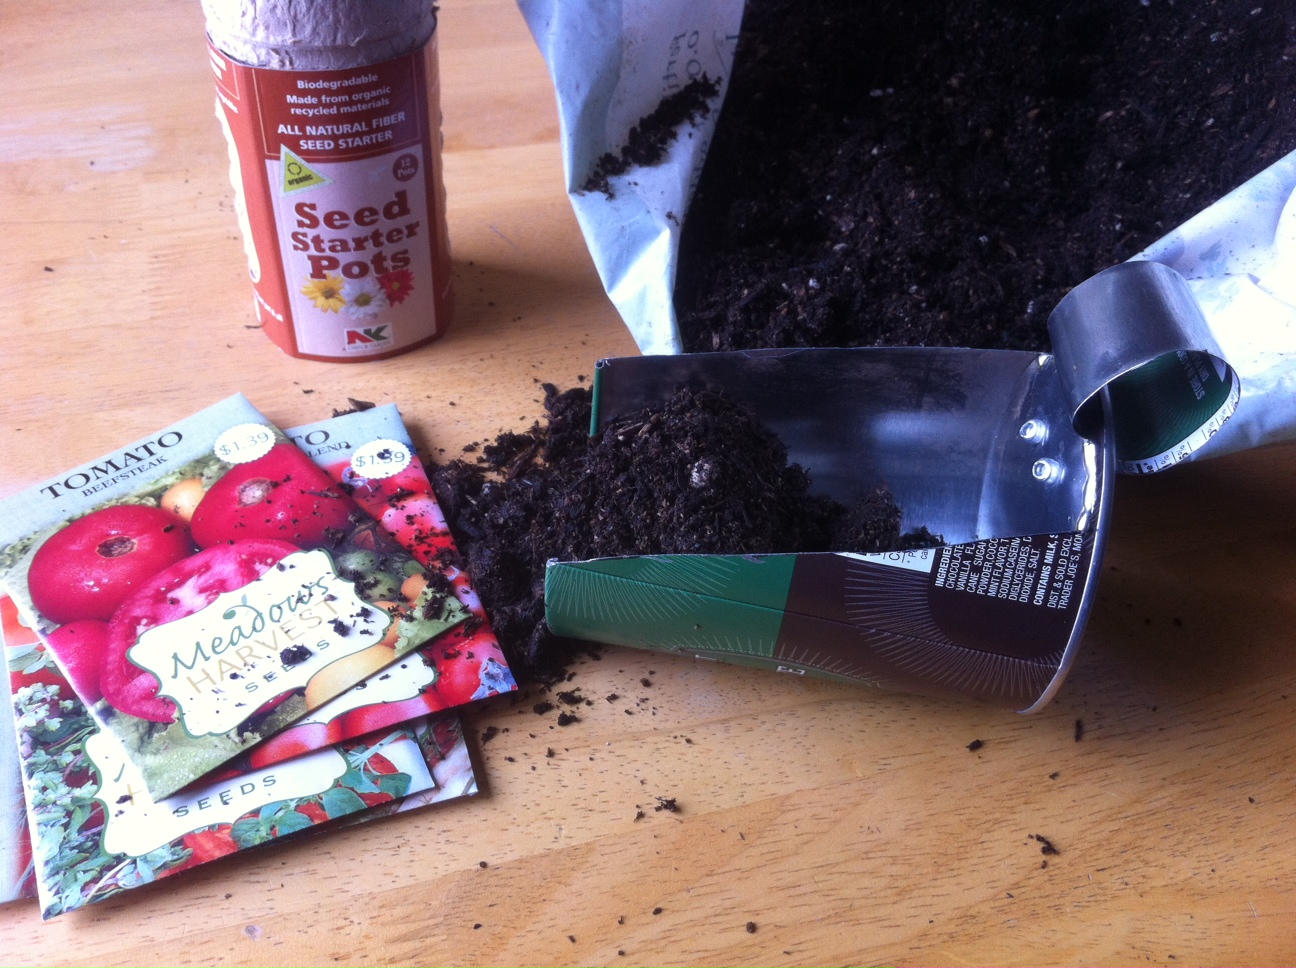
Hot Chocolate Can to Soil Scoop
I needed a scoop for potting soil and a recycled hot chocolate can did just the trick! I used my dremel to cut it and pop rivets to secure the handle. It works nicely!
3/28/2012
CD Holder Turned Windowsill Planter
 I attached some drawer pulls to the old oak CD holder and now I have a pretty cool windowsill planter for my succulents.
5/27/2010
Worn Out Jeans? Make a Rag Quilt!
 I recently went through my closet to clear out some old clothes. Some were in good shape so I donated them, but some of the jeans & cords were worn out complete with holes in the knees. I made them into a comfy rag quilt! There are lots of directions for making rag quilts all you need to do is a quick google search. I do have a few tips: get some good rag quilt shears otherwise you will hate yourself for ever starting this project. Another tip is stay by your dryer when you do the first wash and empty the lint trap every few minutes. You'll be surprised how much comes off while everything is fraying! For this particular quilt I used fleece for the backing, it's super warm and cozy!
4/07/2010


4/06/2010
Cigar Box Ukulele Build - Frets
 Frets are finished! I also trimmed some of the paper label away from the cigar box in preparation of attaching the neck.
4/03/2010
Cigar Box Ukulele Build - Soundhole
 Today I cut the soundhole. I don't have a lot of tools so I had to improvise. I took a piece of jigsaw blade and stuck it into my X-Acto knife holder. It wasn't perfect, but it worked. I smoothed everything out with a file and some sandpaper.
 My favorite part is you can see the guy on the inner box label through the hole!
3/30/2010
Cigar Box Ukulele Build - Neck
 I got the fretboard glued to the neck. It was a precarious operation and I wasn't prepared for it. There was no real way for me to clamp the pieces together so I ended up holding them while dinner burned on the stove. Ooops! This morning I stained the assembly with Varathane golden mahogany wood stain. One thing I always screw up on when gluing wood is being too messy. Wherever you get glue on your project it won't take stain so be more careful than I am!
3/29/2010
Cigar Box Ukulele Build
 I started a new cigar box build over the weekend. This time I'm working on a ukulele. I got the neck, tuners, strings, bridge and nut from a kit I bought on Grizzly.com. The fretboard is going to be cut from a piece of basswood and I bought fret wire from StewMac. I was originally going to use an Arturo Fuente cigar box, but I've changed my mind and am using an old Royalists one instead.
 First I drew a template for the fretboard. I then traced the image onto my basswood and cut it out with a coping saw.
 I laid out the frets by tracing the spacing from another ukulele I have. Then I used my coping saw to cut the slots into the fretboard. More to come this week!
3/24/2010
How to Make a Sock Monkey Tutorial
 Making a sock monkey is pretty easy! All you need are a pair of Rockford Red Heel socks, needle & thread, and some stuffing. Some people embroider on the eyes and add eyelashes, but I decided to go with button eyes since it's easier.
  The first step is to turn one sock inside out. Next sew a seam on both sides of the center of the sock starting a few inches from the white heel and across the end of the sock, rounding out the feet. Cut in between the seams and turn the sock right side out. Use the opening left in the crotch to stuff the legs, body and head. I had trouble getting the stuffing into the legs so I used a chop stick. Finish up by sewing the crotch opening closed.
 The second sock is used to create the ears, mouth, tail and arms. For the arms cut the upper part of the sock into two pieces lengthwise. Seam, rounding the ends and stuff. For the mouth cut the heel from the sock leaving a brown edge around the white. Fasten on the lower part of the face, stuff and finish sewing around the top. You can sew a stitch of either black or white across the lips, but I left mine plain.
 Next, sew on the ears and add the eyes. I thought the button eyes looked really cute, but embroidering them on with black thread works too. If this monkey is being created for a toddler or baby it's probably best to embroider them so there won't be a choking hazard. After completing the face sew on the arms.
 The very last step is the tail. Using the one inch strip cut from the second sock, taper to end of cuff, seam and stuff. Then you just need to sew it on his butt! The cap is optional and some people use the toe of an additional sock leaving 1/2 inch of brown to roll for a brim. I was lucky enough to get a cool red knitted cap. You can also add a jacket, vest, skirt or anything else you think would look good on your monkey. That's it!
1/16/2010
Free Houseplants!
I love having plants growing all over my house and it's even better when they're free! Here's a a few I have currently growing.
 Potato
When your potatoes sprout just plant them about 2 inches deep in potting soil. They make a nice sturdy green houseplant.
 Wisteria
I found a seed pod dangling from a vine while out for a walk and decided to plant the seeds. I now have this pretty plant growing and it can be pruned back so the vines don't take over.
 Pineapple Guava
I found the little fruit from this tree growing out by the swimming pool at the apartment complex I live at. Any fruit with seeds are fair game for my indoor garden.
 Jade Plant
For succulents like jade just cut a little piece off, even a leaf will sometimes work. Stick the branch or leaf in soil and with luck you'll have a new plant!
 Random Spices
I raided my spice cabinet and planted a few of every whole seed I had! Here we have mustard, fennel, cumin and coriander.
 Avocado
My avocado tree is nearly three feet tall! I started it by sticking toothpicks in an avocado pit and suspending it (fat side down) in a glass of water. When it was big enough I planted it in potting soil.
1/11/2010
DIY Chalkboard Coffee Table
 I found a really ratty coffee table, but the base still looked good. I dragged it home, removed the moldy old top and cleaned up the metal legs. I decided to turn it into a chalkboard coffee table! I bought a piece of 1/4 inch mdf, a can of chalkboard spray paint and some bolts to attach the top to the base.
 After I cut the top to size and drilled holes for the bolts I gave it two coats of Kilz primer. I sanded everything smooth and sprayed on two coats of Rust-Oleum chalkboard paint.
 Yay, chalkboard coffee table! It's going to be fun sketching, jotting down notes, or even playing games!
Subscribe to:
Posts (Atom)


